Drywall Installation

  • Home
  • Drywall Installation

Drywall Installation Services

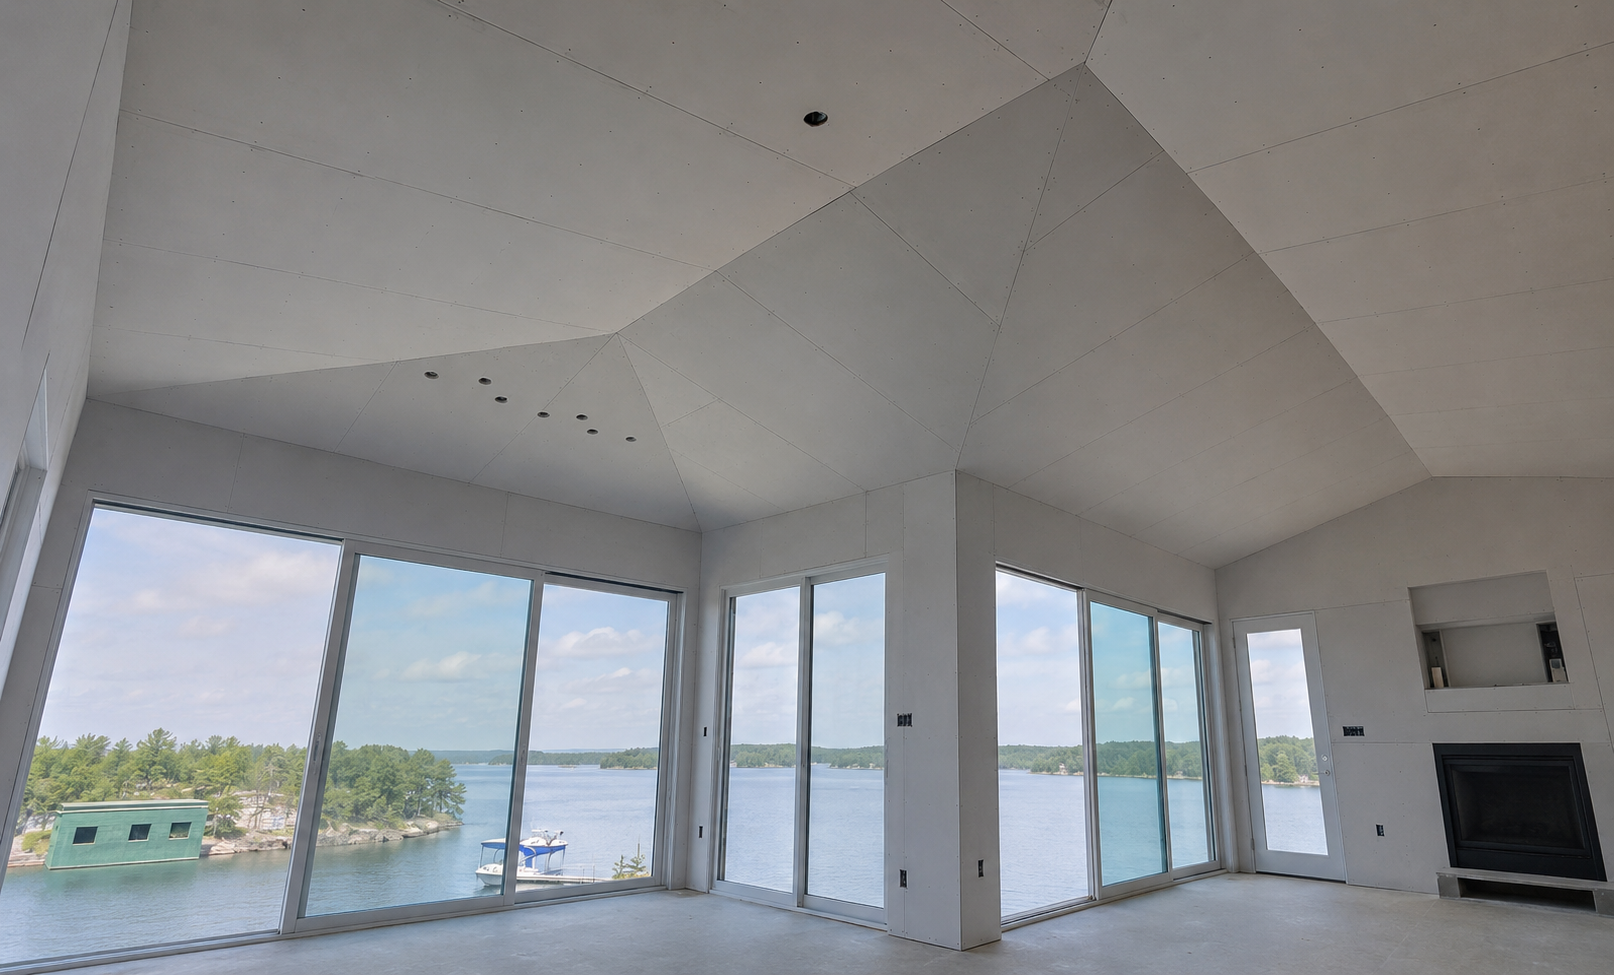
Getting the walls and ceilings right is not just about what you see when the project is done. It is about what holds up behind the finish over years of use. Our drywall installation service covers residential and commercial projects across the GTA, and we approach every job the same way: with properly specified materials, clean fastening, and seams placed to minimize the finishing work that follows. If you need professional drywall installation services that are done once and done right, we are the crew to call.
Our Drywall Installation Services
Residential Drywall Installation

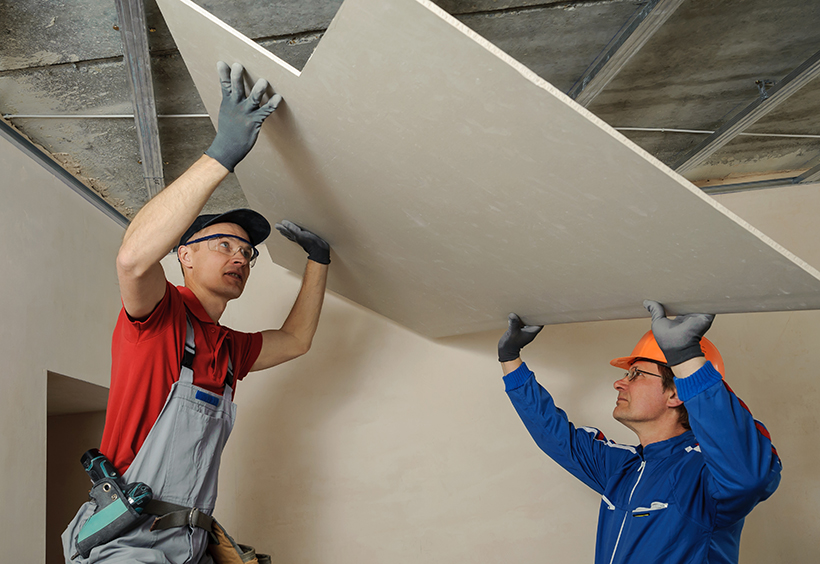
Residential drywall installation in Ontario typically involves 12.7 mm (1/2 inch) regular or moisture-resistant gypsum board for standard walls, and 15.9 mm (5/8 inch) Type X gypsum board in fire-rated assemblies such as attached garages, stairwells, and basement ceiling assemblies adjacent to living spaces. We confirm the correct board type for each area of the home before we start cutting. Using the wrong board in a fire-rated assembly is not a cosmetic problem; it is a code deficiency that will be flagged at inspection.
We hang boards horizontally on walls wherever ceiling heights allow, which reduces the number of butt joints and makes taping and finishing easier. On ceilings, we use the appropriate screw pattern and spacing to prevent nail pops and panel sag. In bathrooms and wet areas, we use moisture-resistant core board (often referred to as "green board" or "purple board") rated for high-humidity environments, and in shower surrounds, we use cement board or a fully waterproofed system rather than standard gypsum.

Commercial Drywall Installation

Commercial drywall installation differs from residential in scale, board specification, and fire-rating requirements. Office build-outs and tenant improvements often require fire-rated wall assemblies where the board type, screw pattern, stud gauge, and fastener spacing are all specified by the rated assembly design. Deviating from the tested assembly design voids the fire rating. We install strictly to the specified UL or CAN/ULC assembly details.
For large commercial projects, we work from detailed take-off drawings to confirm material quantities before ordering, which eliminates mid-project shortages and substitutions. We also sequence the board installation to coordinate with other trades, particularly ceiling tile contractors and mechanical crews working in the same space.

Drywall Repair & Patching

Not every project is new construction. We handle drywall repair and patching for damaged walls, post-renovation patching, and remediation work following water damage, pest activity, or structural repairs. Matching the existing texture and finish level takes skill. We assess the existing surface, replicate the texture application method, and finish the repair so that it blends with the surrounding area.

Drywall Finishing & Taping

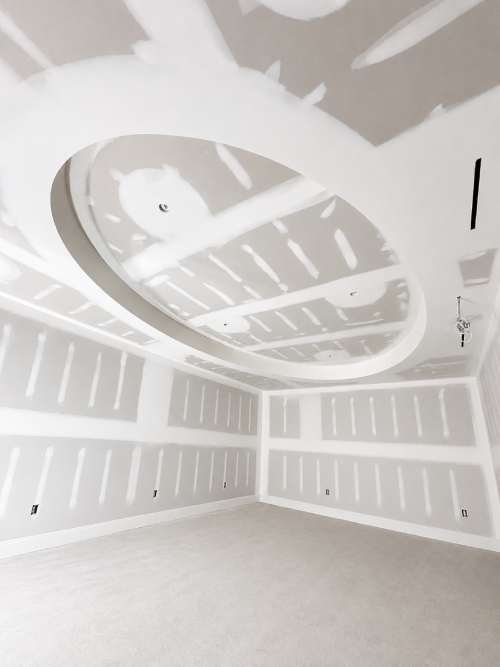
Finishing is the step that determines how the wall looks under paint. We apply joint compound in multiple coats, feathering each coat wider than the last to eliminate visible ridges at the tape edge. We detail all inside and outside corners and confirm that screw heads are properly dimpled and filled. The finishing level is confirmed before we start: a Level 4 finish is standard for painted walls, while Level 5, which involves a skim coat over the entire surface, is required under critical lighting conditions or for gloss and semi-gloss paint applications.

Why Choose Professional Drywall Installation?

Drywall looks straightforward but the details that separate a professional installation from a DIY job are visible under every coat of paint. Boards that are not properly backed at their ends develop cracks at the joint. Screws driven too deep tear the paper face and create weak fastening points. Seams placed at door and window corners almost always crack within the first year of occupancy. A professional crew places seams away from corners, backs all edges, and fastens to the correct schedule. You do not see the difference immediately, but you see it within the first heating season when DIY drywall starts showing movement cracks.

Get in touch with us

Our Process

Site Assessment & Measurement

We walk the site, confirm the wall and ceiling areas, and verify the framing condition before material is ordered. Framing that is not plumb or square gets addressed at this stage, not after the board is up.

Material Selection

We confirm the correct board type for each area: standard, moisture-resistant, Type X fire-rated, or specialty board as required. We also confirm fastener type and length based on the stud material, metal or wood, and the board thickness.

Installation

Board is hung, fastened to the specified pattern, and detailed at all penetrations, corners, and transitions before we move to finishing. We do not rush the hanging phase to save time on finishing.

Finishing & Final Inspection

We apply tape, mud, and subsequent coats to the specified finish level. After the final coat is dry and sanded, we inspect the surface under direct lighting to identify any ridges, depressions, or missed screw heads before the painter arrives.

Why Choose AR Quality Construction?

  • Licensed and insured for drywall installation in Ontario
  • We specify the correct board type for every area, including fire-rated assemblies
  • Our crew works cleanly and coordinates with other trades on the project
  • We finish to the specified level, confirmed in writing before work begins
  • All work is prepared for and passes municipal inspection
  • Experience across new construction, renovation, and tenant improvement projects
Get in touch with us

Industries & Projects We Serve

At AR Quality Construction we install drywall in single-family homes, basement finishing projects, home additions, multi-unit residential buildings, office tenant improvements, retail build-outs, healthcare clinics, educational facilities, and light commercial spaces.

 Single Family Homes

Basement Finishing

Home Additions

Multi Unit Buildings

Office Tenant

Retail Build Outs

Healthcare Clinics

Educational Facilities

Service Areas

Get in touch

We work across Toronto, North York, Vaughan, Richmond Hill, Markham, Thornhill, Mississauga, Brampton, Etobicoke, Scarborough, and surrounding GTA areas. Call (647) 614-2047.

(647) 614-2047

Frequently Asked Questions

Should I hire a professional or DIY my drywall installation?

For a small patch or a single accent wall in a low-visibility area, DIY is manageable. For full-room or full-home installation, particularly in any area requiring a fire-rated assembly or moisture-resistant board, professional installation is the right call. Incorrect board specification in a fire-rated wall is a building code deficiency that must be corrected before occupancy. A professional crew also finishes the work to the level your painter expects, which affects the quality of the final painted surface.

A standard bedroom of approximately 150 square feet takes a professional crew one day to hang and one to two additional days for finishing coats, depending on the specified finish level and drying time between coats. Larger rooms and complex ceiling layouts take longer. We confirm the installation schedule during the pre-project assessment.

Yes, but the board specification matters. Standard gypsum board is not suitable for high-humidity environments like basements. Moisture-resistant core board is the minimum for basement wall applications in Ontario. In garages attached to the home, Ontario Building Code requires a minimum of 12.7 mm Type X gypsum board on the garage side of the common wall for fire separation. We confirm the correct specification for your specific application before any material is ordered.

The framing should be complete and inspected, all rough-in electrical, plumbing, and HVAC should be in place and inspected, and any fire-stopping at penetrations should be confirmed. The site should be cleared of material and debris to give the drywall crew unobstructed access to all walls and ceilings. We confirm readiness during our pre-installation site visit.

Small holes under 150 mm in diameter can typically be repaired using a patch kit and two to three coats of joint compound. The material cost is low. The labour cost depends on the location, access, and the existing texture that needs to be matched. We can assess repair scope and provide a clear quote after seeing the damage in person or via photos sent to our contact page.