Drywall Taping & Finishing

  • Home
  • Drywall Taping & Finishing

Drywall Taping & Finishing Services

A smooth, paint-ready wall does not happen automatically after the board goes up. It takes multiple coats, the right materials, proper sanding, and the kind of attention to detail that separates a flat wall from one that looks professional under every light condition. Our drywall installation and taping services cover the full scope from board to paint-ready surface, and we deliver finishing work that meets the exact level specified for your project. 

Whether you need standard drywall taping services for a renovation or a Level 5 skim for a high-end interior, we have the crew and the process to get it done.
Our Drywall Taping & Finishing Services
Drywall Installation & Taping Services

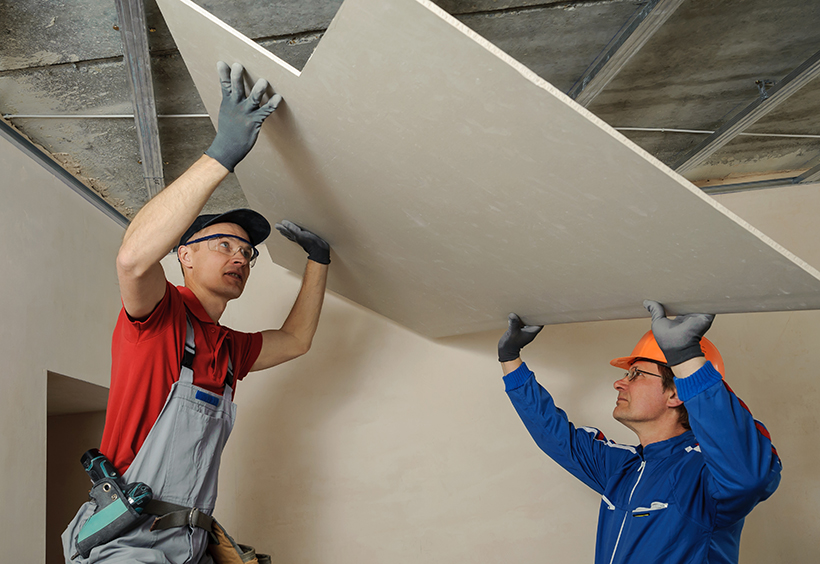
Our drywall installation and taping services combine board hanging and joint finishing under a single scope of work, which is the most efficient way to manage the sequence. When hanging and taping are done by the same crew, the board is hung with taping in mind: seams are placed strategically, butt joints are minimized, and all panel ends are properly backed. When a separate crew takes over for taping, they are working with the conditions left by the hanger, good or otherwise. We prefer to control both stages because the quality of the taping work is directly connected to how well the board was hung.

Drywall Taping Services

Our drywall taping services begin with paper tape embedded in the first coat of setting compound. We use paper tape rather than fiberglass mesh as the primary joint tape for flat seams because paper tape, when properly embedded, produces a stronger and flatter joint. Fibreglass mesh is used at specific locations such as patches and butt joints where additional crack resistance is needed. The first coat is allowed to fully cure, typically 24 hours under normal conditions, before the second coat is applied wider than the first to feather the joint edge. A third coat follows where required. All inside and outside corners are detailed, screw heads are filled, and the surface is sanded between coats using the appropriate grit sequence.

Texture & Level 5 Finishing

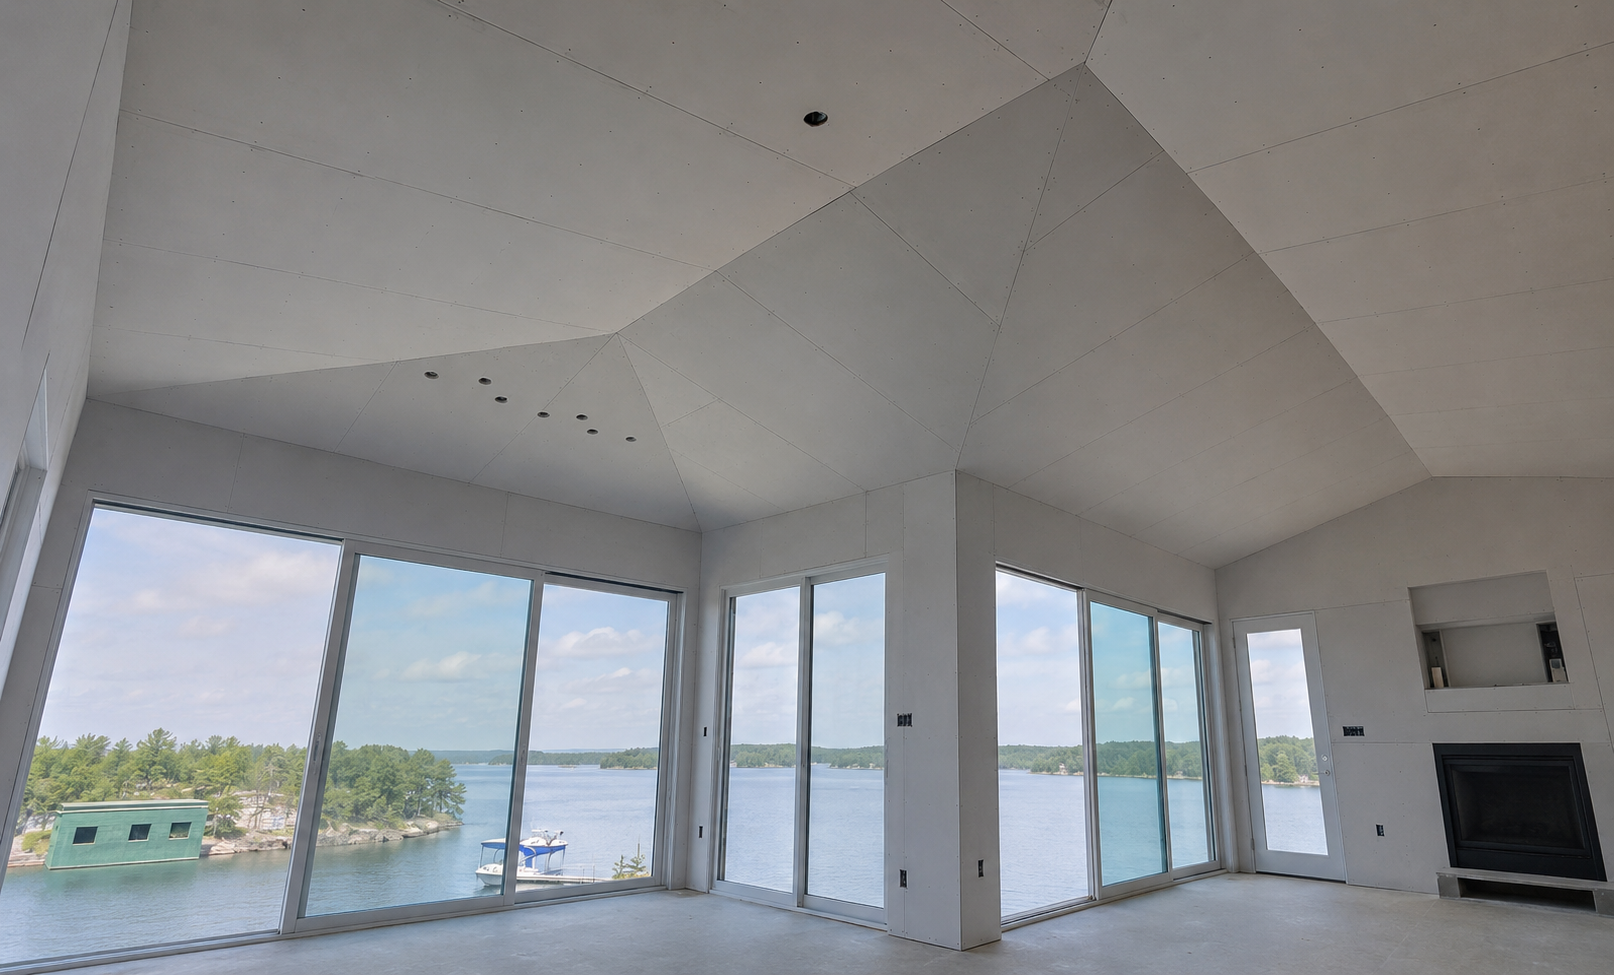
Some projects call for a textured finish rather than a smooth surface. Orange peel, knockdown, and skip trowel are the most common texture applications in Ontario residential construction. We apply textures by spray or hand tool depending on the target pattern and the existing texture in adjacent areas that need to match. For Level 5 skim finishing, we apply a full skim coat of all-purpose compound over the entire primed surface, sand to a flat, uniform finish, and deliver a surface that holds up under the most demanding lighting conditions.

Renovation & Addition Framing

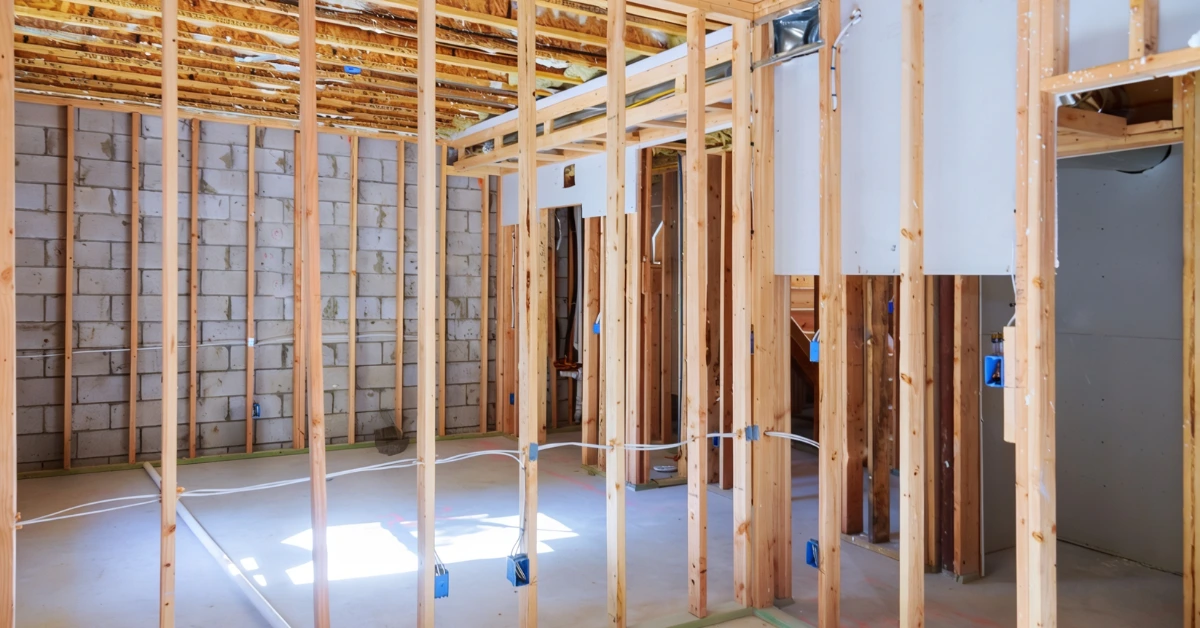
Renovation and addition framing presents a different set of challenges. Existing homes rarely have perfectly level floors or plumb walls, and tying new framing into old structure requires careful assessment before any work begins. We check existing conditions, identify any structural anomalies, and plan our framing layout to integrate cleanly with what is already there. If the addition requires an engineer-stamped connection to the existing structure, we work from that documentation and do not deviate from the specified design.

Framing Basement Walls

Why Choose Professional Taping & Finishing?

Taping is the part of drywall work that most clearly separates a professional result from an amateur one. The physical process looks simple: apply mud, embed tape, apply more mud. What is not visible is the knowledge of compound consistency, the correct feathering angle and pressure, the drying time between coats, and the sanding sequence that produces a flat surface rather than a wavy one. A wall finished by an inexperienced crew will show its seams within the first year of painting because the compound was not applied correctly. A professionally taped wall, properly primed and painted, shows nothing.

Our Process

Site Assessment

We assess the hung board for any issues before taping begins: unseated screws, unsupported seam ends, damaged face paper, or board that is not tight to the framing. These issues are corrected at this stage. Starting taping over poorly hung board produces poor results regardless of the taping quality.

Taping & Mudding

Paper tape is embedded in the first coat of compound at all seams, butt joints, and inside corners. Outside corners receive metal or vinyl corner bead, fastened and coated. Subsequent coats are applied and feathered progressively wider. We use a mix of setting compound for the base coats and finishing compound for the final coats to control shrinkage and drying time.

Sanding & Smoothing

Each coat is sanded after full curing using the appropriate grit. We do not sand wet compound, which smears rather than cuts. The final sanding is done with fine-grit paper to produce the smooth surface the primer and paint require. We minimize dust through wet sanding where possible and protect adjacent surfaces from compound dust throughout the process.

Final Inspection & Paint-Ready Finish

We inspect the finished surface under a raking light source to identify any ridges, screw heads, or joint lines that are visible before the painter arrives. Any deficiency is corrected before we hand off the surface. We deliver a wall that is ready to prime and paint, not one that reveals its seams after the first coat of paint goes on.

Why Choose AR Quality Construction?

  • We tape and finish to the GA-214 specified finish level, confirmed in writing
  • Paper tape on flat seams, properly feathered, not fiberglass mesh used as a shortcut
  • Our finishing crew has experience across Level 3, 4, and 5 applications
  • We correct any board-hanging issues before taping begins
  • All surfaces are inspected under raking light before paint handoff
  • Licensed and insured, working across residential and commercial projects in Ontario
Get in touch with us

Industries & Projects We Serve

At AR Quality Construction our taping and finishing services cover single-family home renovations, new residential construction, basement finishing, multi-unit residential buildings, commercial tenant improvements, office build-outs, retail interiors, and high-end residential projects requiring Level 5 skim finishing.

Home Renovations

Residential Construction

Second Storey Builds

Basement Finishing

Tenant Improvements

Office Build Outs

Retail Interiors

Garage Conversions

Interior Partition

Wall Project

Service Areas

Get a Free Estimate

Call us at (647) 614-2047 or contact us to discuss your project. We will confirm the scope, the specified finish level, and the timeline before any work begins.

(647) 614-2047

Frequently Asked Questions

What are drywall finishing levels and which do I need?

The Gypsum Association GA-214 standard defines six finish levels (0 through 5). Level 0 is no finishing at all, used in temporary construction. Level 1 is used in concealed spaces like plenums. Level 2 applies to garages and areas that will receive tile. Level 3 is used under heavy texture. Level 4 is the standard for most painted walls. Level 5, a full skim coat over the primed surface, is required under gloss or semi-gloss paint and in areas with critical or raking lighting. We confirm the correct level for your project before starting.

A standard room requires three coats of compound over approximately three to five days, accounting for curing time between coats. Temperature and humidity in the space affect drying time significantly. In well-ventilated spaces at 20 to 22 degrees Celsius, each coat dries in 24 hours. In cooler or more humid conditions, drying time extends. We confirm the finishing schedule during the pre-project assessment.

You can, but the quality of the finishing work is directly affected by how well the board was hung. If the boards are not tight to the framing, if seams are placed at corners, or if screw spacing is inconsistent, the finishing crew will spend more time correcting those issues before taping, which increases labour costs. It is worth having us assess the hung board before we begin taping to identify any issues upfront.

After the final coat of compound is fully cured and sanded, the surface should be primed before paint is applied. Water-based drywall primer raises the paper face fibers, which are then sanded lightly before the paint coat. In most cases, the surface is ready to prime within 24 hours of the final sand under normal temperature and humidity conditions.

The physical process looks manageable, but achieving a flat, seamless Level 4 finish requires calibrated technique that takes considerable practice to develop. The most common DIY failures are ridged joints caused by compound applied too thick and not feathered wide enough.. A professional finisher produces a surface that holds up under paint and under the natural movement of a building over its first few seasons.